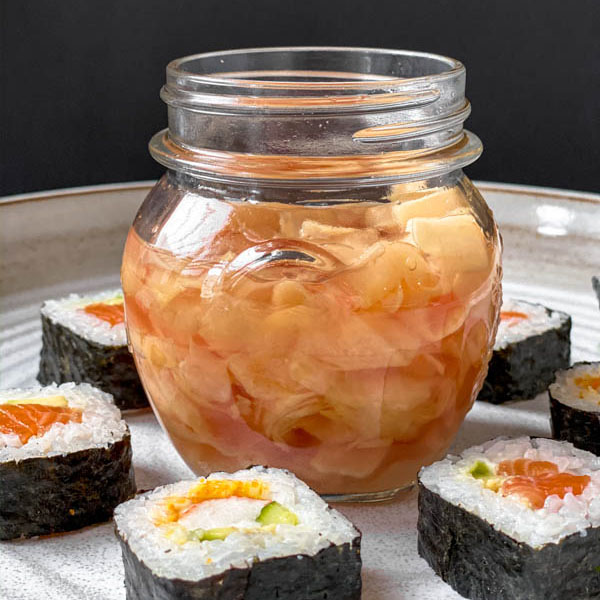
Are you a fan of Japanese Pickled Ginger? You might be surprised at just how easy it is to make at home. It’s absolutely delicious and made in 20 minutes. So handy to have a jar of this in your fridge to add a hit of flavour to rice, seafood, sushi and sashimi dishes and so much more…a great little condiment!
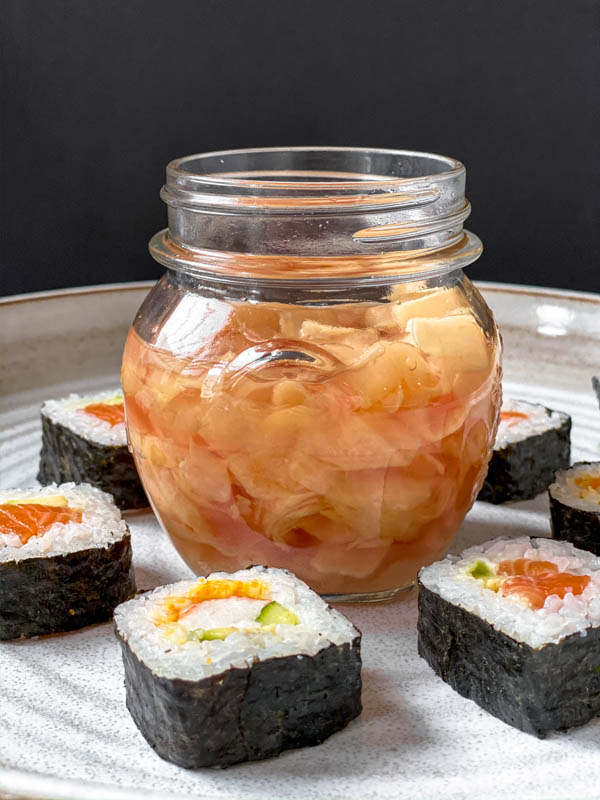
I love having a jar of this sweet, spicy pickled ginger in the fridge. It can really elevate a dish. We add it to so many things in our house – rice dishes, sashimi, sushi, as well as serving alongside fried chicken, fish and in our homemade Poke Bowls. Great in salads too.
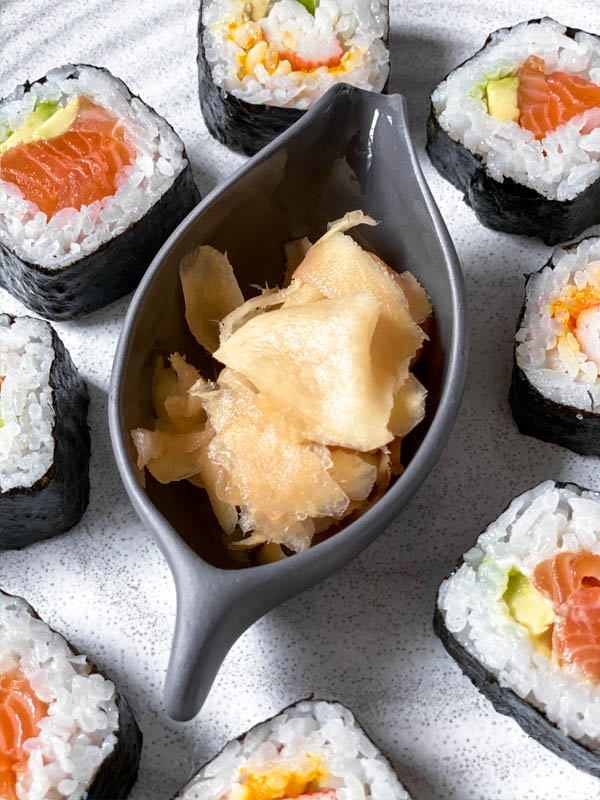
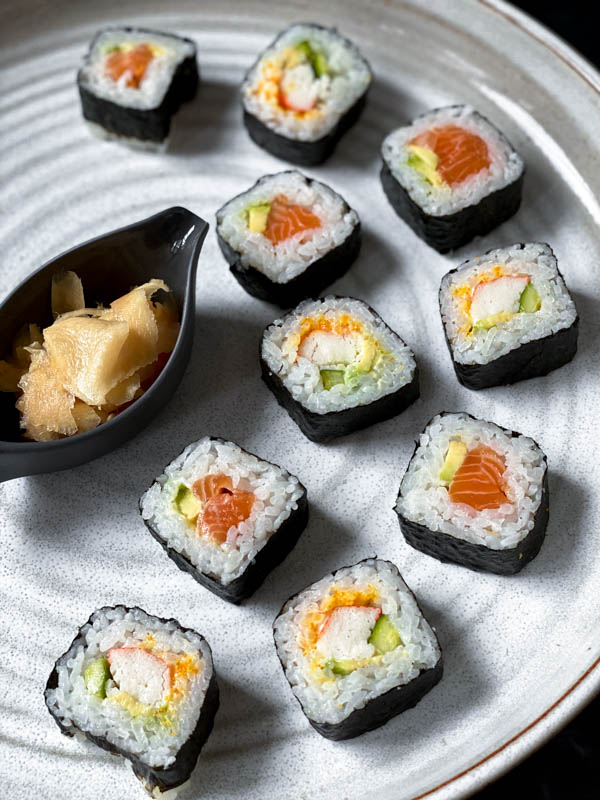
What is Easy Pickled Ginger?
This Easy Pickled Ginger is based on the Japanese Pickled Ginger (called Gari) that you always find in Sushi joints. The beauty of making your own homemade version like this is that it has no preservatives or added colouring like some of the commercial ones. The Pickled Ginger is often served as a palate cleanser to have between sushi courses to cleanse the palate in preparation for the next course, however in Australia, it is often eaten with the sushi and sashimi (placed on top). Either way, it’s delicious with its spicy ginger flavour and added sweetness from the pickling liquid.
Traditionally Japanese Pickled Ginger (Gari) is made using fresh young ginger which has a more mild flavour (not as fiery as mature ginger) and a lovely tender young flesh with no fibrous parts. It also has a very thin, pale (almost clear) skin with pinkish coloured tips and it’s these tips that give the pink colour of Gari. They can be hard to source here in Australia though, and often the pink tips have been removed. A lot of commercial varieties add colouring to achieve this pink colour, however this is starting to change with consumer pressure and you now see some more creamy natural coloured choices out there.
How Do You Make Easy Pickled Ginger?
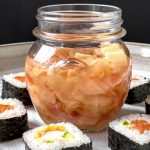
Young ginger is by far the best ginger to pickle as the flesh texture is much less coarse and fibrous than mature ginger and it has less heat. Having said that, as young ginger is seasonal and harder to source here in Australia, I still make it with the more mature ginger and it’s delicious. The photos shown here are made with mature ginger. I do find though that when using more mature ginger, that I have to use more ginger than the recipe states to get 150g thinly sliced ginger as I do discard the really coarse fibrous parts of the ginger.
This is a very easy recipe. The most time-consuming part is preparing/slicing the ginger, which isn’t hard to do at all. Once it’s prepared, then the ginger is placed into a sterilised jar, while the pickling liquid is quickly prepared – rice wine vinegar, sugar and water are brought to the boil, and then poured over the ginger. Seal the jar and allow to cool to room temperature. Done!
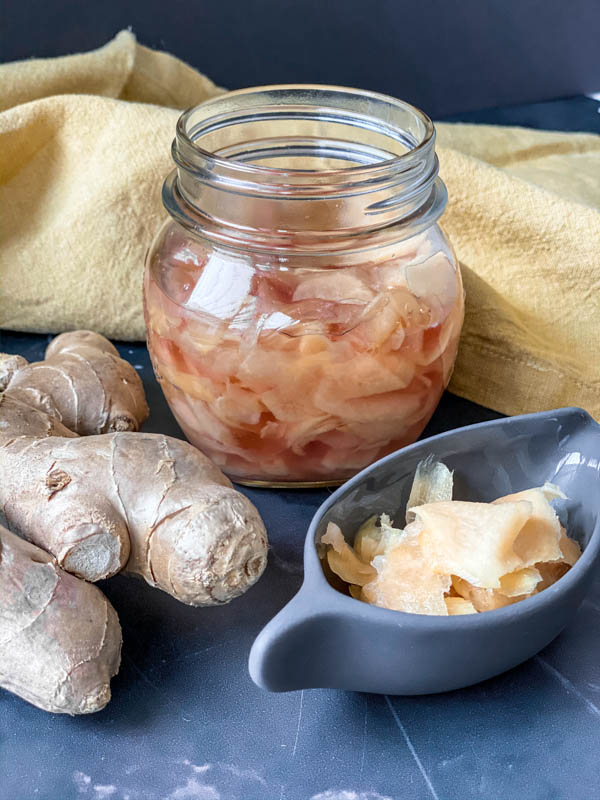
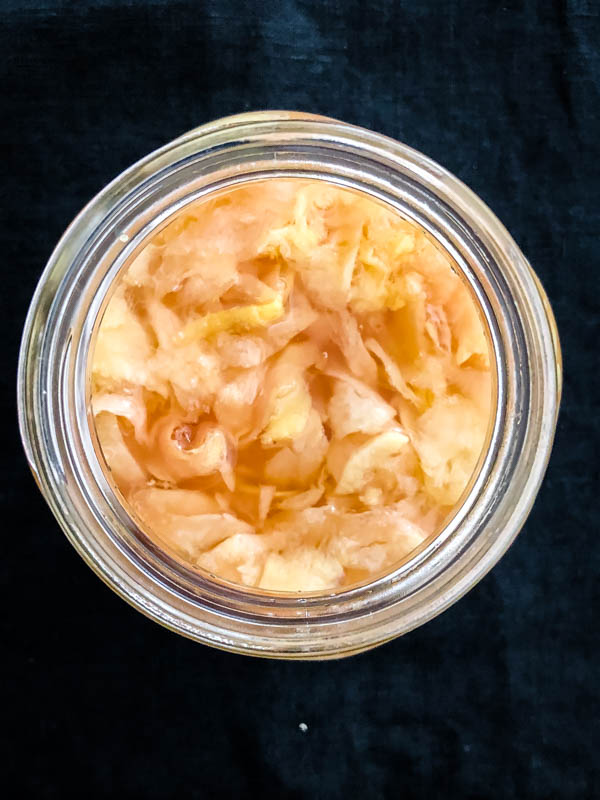
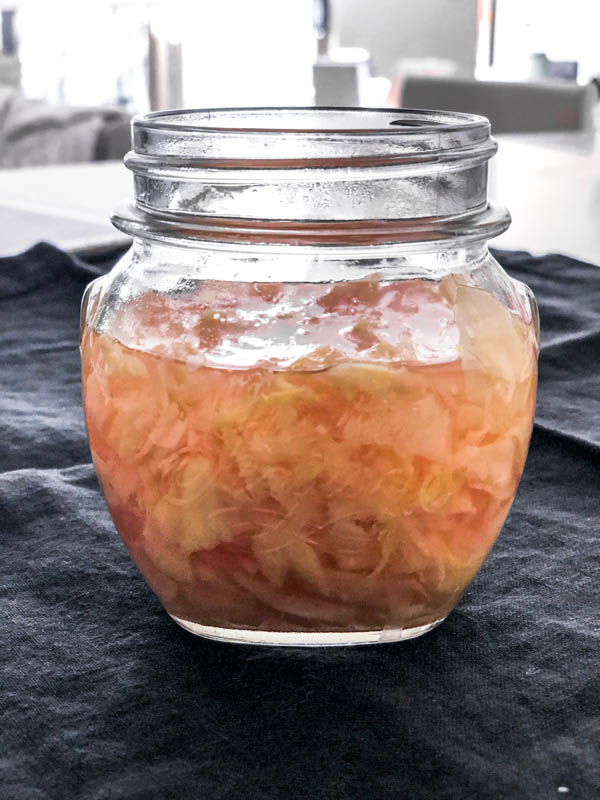
The Easy Pickled Ginger is stored in the refrigerator and keeps for up to 3 months (although I have had mine for up to 6 months). Enjoy!
Equipment
- small saucepan
- small jar with lid, sterilised
Ingredients
- 150 g ginger fresh, peeled (see notes)
- 55 g caster sugar (1/4 cup)
- 60 ml rice wine vinegar (1/4 cup)
- 60 ml water (1/4 cup)
- 1 tsp table salt
Instructions
- To prepare Ginger: Slice the peeled ginger into very thin slices – I prefer to use a vegetable peeler as this gets it super thin. You can use a mandoline also.Place the thinly sliced ginger into a bowl and sprinkle with the salt. Mix the two together using clean hands or a spoon. Set aside for 20 minutes.Using clean hands, take handfuls of the ginger and squeeze to remove any excess liquid, or press down in a sieve. Place the squeezed ginger into the sterilised jar.
- To prepare the Pickling liquid: In a small saucepan, add the caster sugar, rice wine vinegar and water. Place over a medium/high heat and bring to the boil, stirring continuously at the start, until the sugar has dissolved. This doesn’t take long at all. Once it is boiling, let it boil for 1 minute, then remove from the heat and pour over the ginger in the jar. Stir with a clean spoon. Put the lid on the jar and seal. Set aside to come to room temperature, before storing in the refrigerator.Can be used once it has cooled down, but is best the next day. Store: In the refrigerator for up to 3 months.


No Comments